


Install Redis Server on Ubuntu 24.04 LTS with this practical step-by-step guide. Redis is a popular in-memory data store used for caching, queues, and sessions.
In this tutorial, we will show you how to install Redis Server on Ubuntu 24.04 LTS in a simple and efficient way.
If you need a reliable server, you can buy VPS to run Redis efficiently.
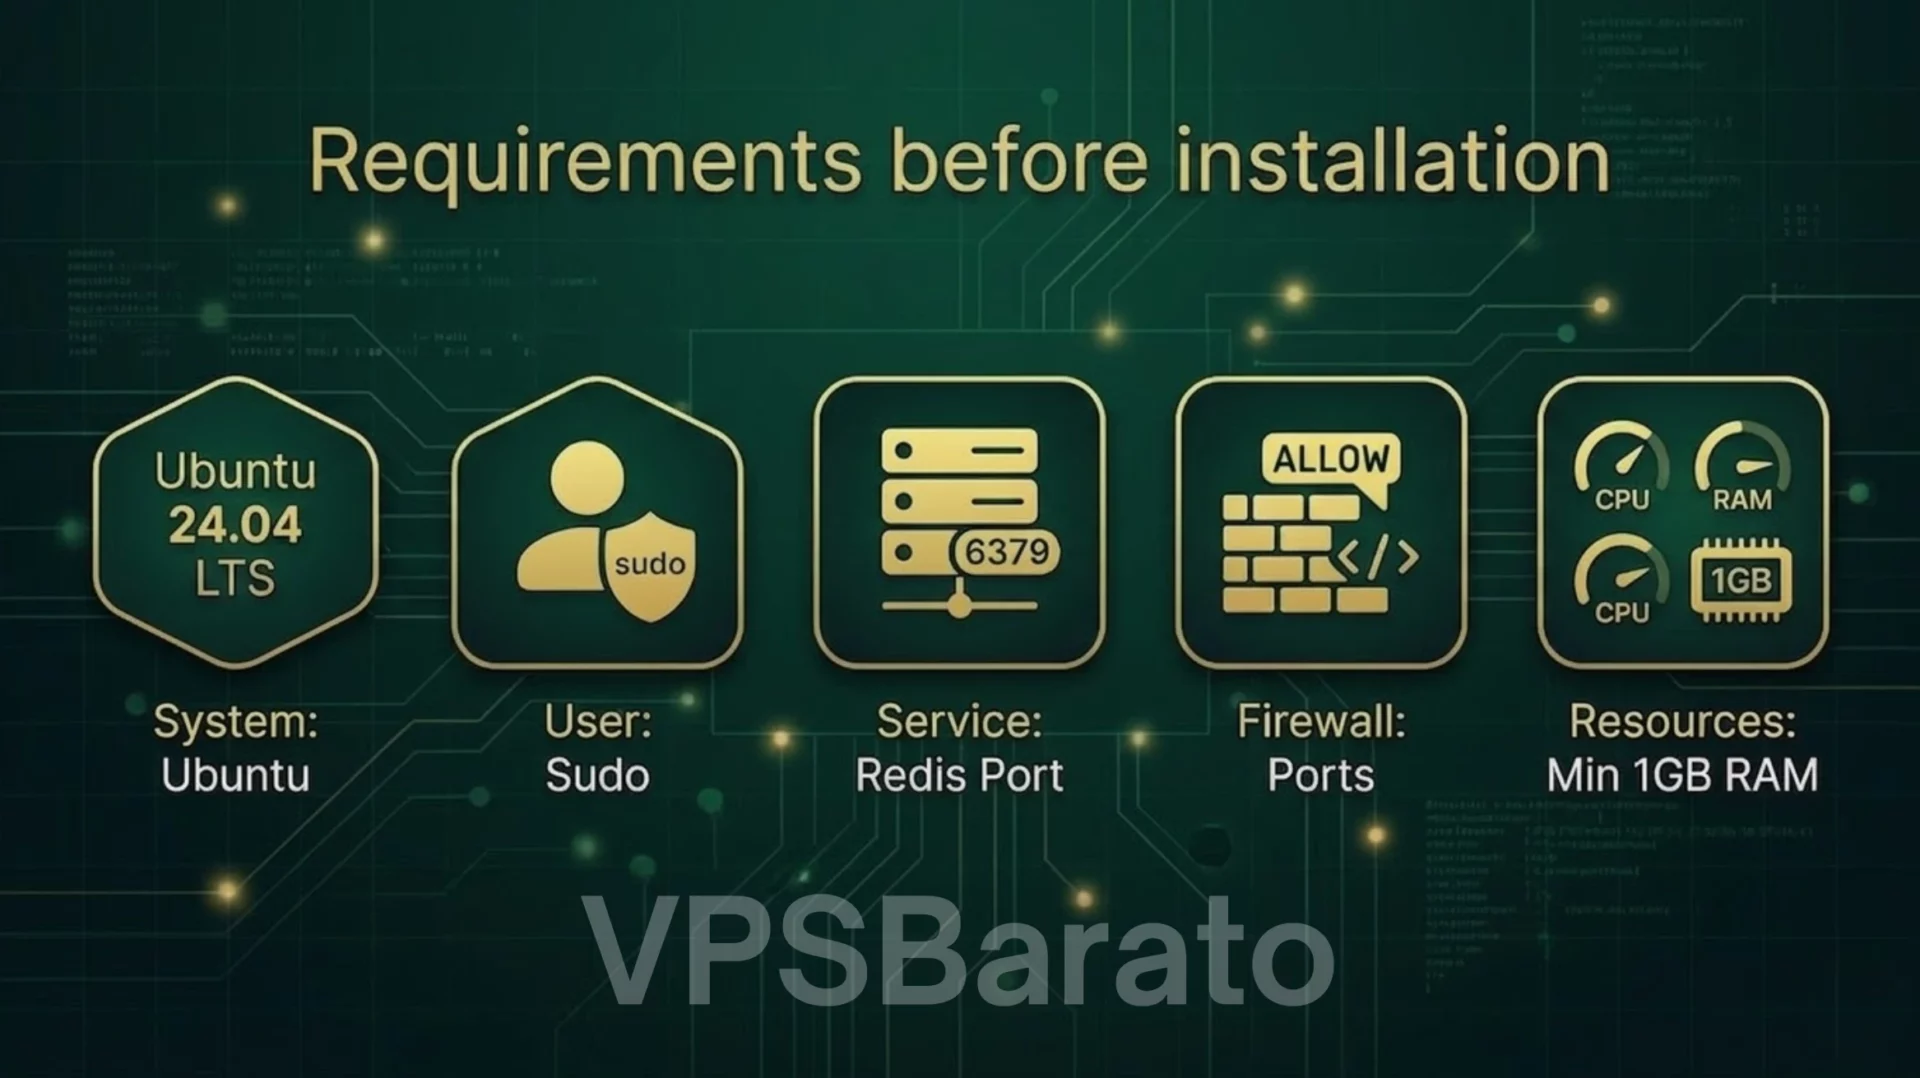
Requirements before installation
redis installation requirements ubuntu 24.04
Before shaking hands, ensure the following conditions are met:
– Ubuntu 24.04 LTS (updated to the latest version).
– User account with sudo privileges.
– Default Redis port: 6379 (can be changed).
– Firewall (ufw) if enabled: know how to open/restrict ports.
– Minimum resources: 1 CPU, 1 GB RAM for small environments; 2 GB+ for production or large caching.
If you’re using a shared VPS, check your provider’s policy regarding running listening services on arbitrary ports.
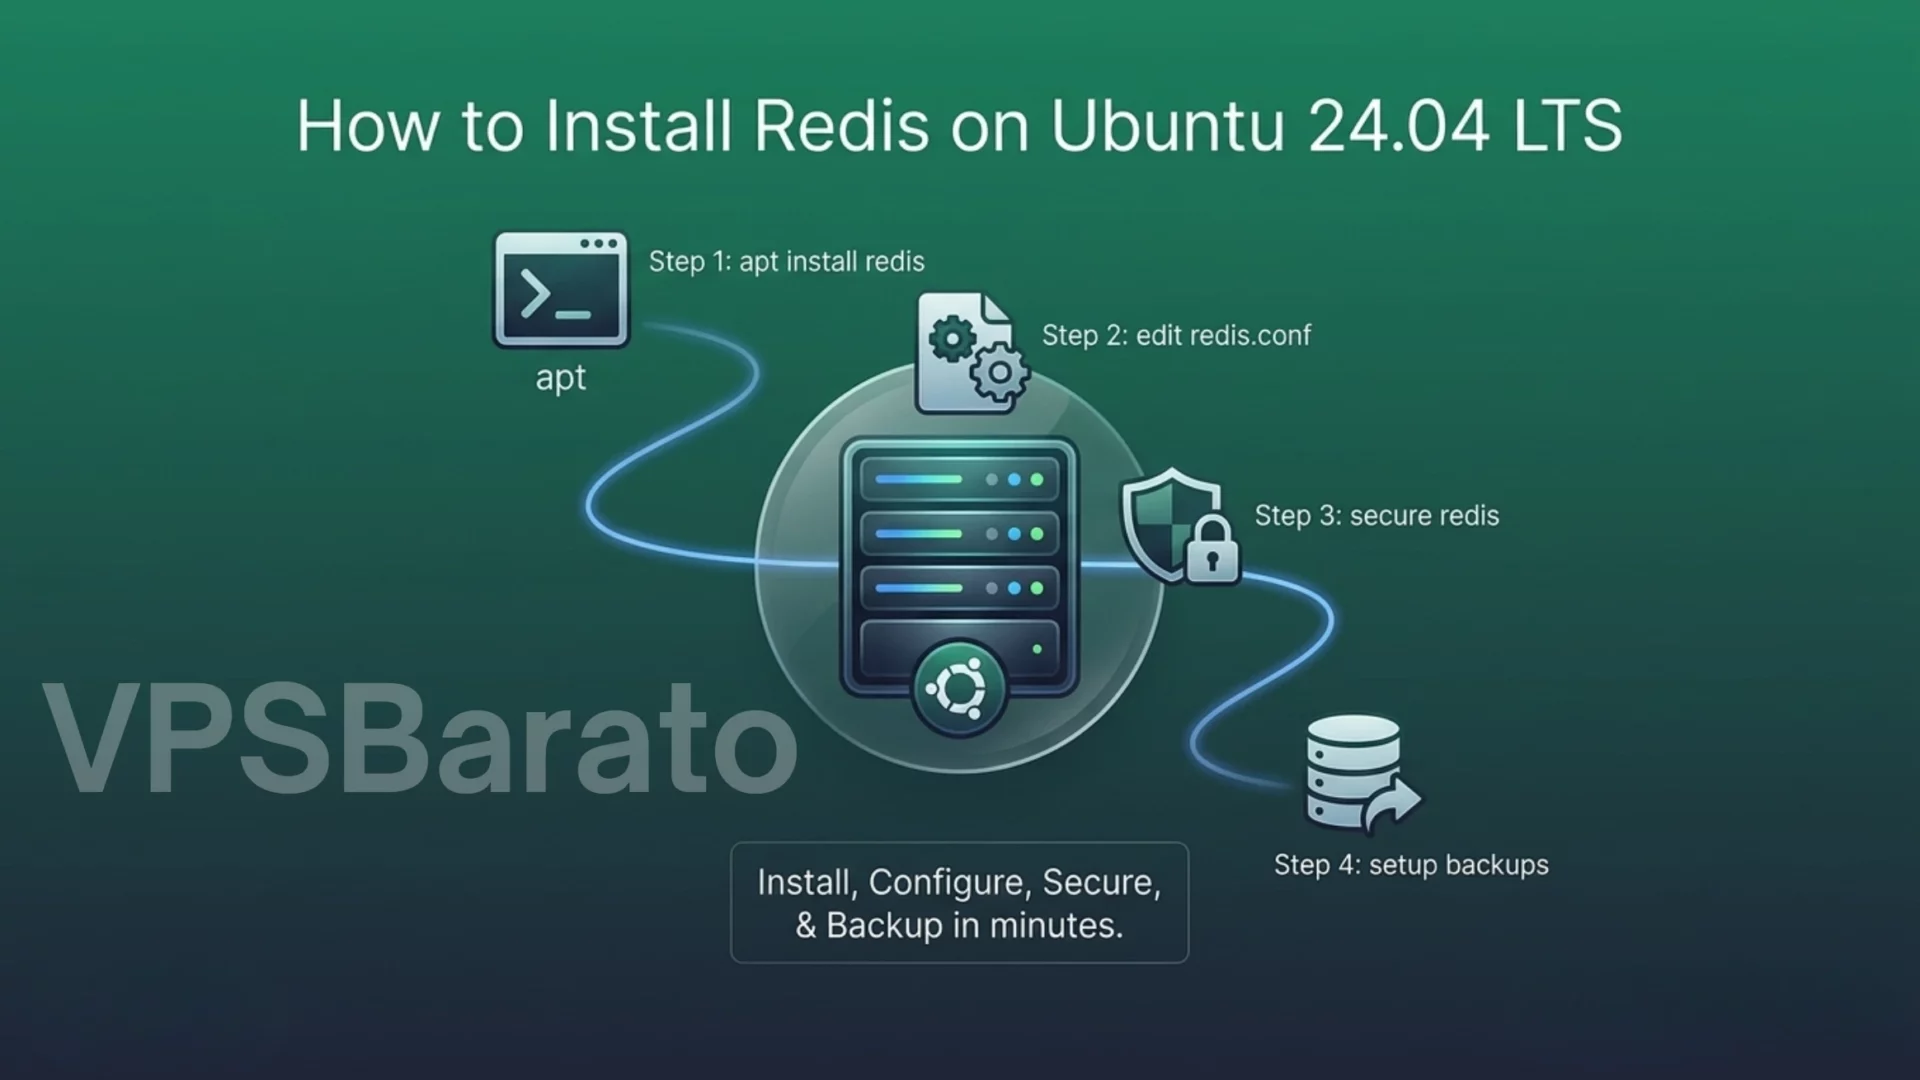
Install Redis Server on Ubuntu 24.04 LTS using APT
Update & install
This is the most common method to install Redis Server on Ubuntu 24.04 LTS using the official package manager. Run:
sudo apt update
sudo apt install -y redis-server
Enable systemd and start the service.
After installation, systemd will manage Redis. Activate and start it:
sudo systemctl enable redis-server
sudo systemctl start redis-server
sudo systemctl status redis-server
Check the package and version.
Confirm the version and that the binary works:
redis-server --version
redis-cli --version
Check the listening port:
ss -tunlp | grep 6379
Basic Configuration for Redis Server on Ubuntu 24.04 LTS
The default configuration file is: /etc/redis/redis.conf. I’ve only listed the important changes; you should adjust them directly and restart the service after saving.
For more details, you can refer to the official Redis documentation.
Bind, port, and listen address.
By default, Redis binds to 127.0.0.1. If you want to allow access only from an internal IP or application IP, adjust the settings:
# /etc/redis/redis.conf
bind 127.0.0.1 192.0.2.10
port 6379
Practical suggestions:
– If using Redis only for the application on the same VPS, keep bind = 127.0.0.1.
– If the application is on another machine on the local network, only add the specific local IP address, do not use 0.0.0.0.
Enable authentication (require password).
Set a password to prevent unauthorized access.
# /etc/redis/redis.conf
requirepass YourStrongRedisPasswordHere
After turning it on, test it using redis-cli:
redis-cli
> AUTH YourStrongRedisPasswordHere
> PING
PONG
Note: For connection libraries (PHP, Node.js, etc.), the client configuration requires a password.
supervised = systemd
To make Redis work properly with systemd, enable supervised:
# /etc/redis/redis.conf
supervised systemd
After adjusting the values, restart Redis:
sudo systemctl restart redis-server
Start & check
Quick check steps:
1. Check the status of systemd:
sudo systemctl status redis-server
2. Check ping + set/get:
redis-cli -a YourStrongRedisPasswordHere ping
# Or if you bind to localhost and don’t need authentication, use redis-cli ping
redis-cli -a YourStrongRedisPasswordHere set hello "VPSBarato"
redis-cli -a YourStrongRedisPasswordHere get hello
3. Check server information:
redis-cli -a YourStrongRedisPasswordHere INFO server
If PONG and set/get run correctly, Redis will function properly.
Security & Backup
Firewall (ufw) and IP-only access:
Do not open Redis ports publicly. How to restrict access using ufw (for example, allowing only the application IP 203.0.113.5):
sudo ufw allow from 203.0.113.5 to any port 6379 proto tcp
If you only want to enable localhost, don’t open anything or just enable SSH.
sudo ufw allow OpenSSH
sudo ufw enable
If you need remote access only from the admin panel: use an SSH tunnel instead of opening ports to the Internet.
ssh -L 6379:127.0.0.1:6379 user@your-server
Then on the local machine: redis-cli -h 127.0.0.1 -p 6379
Alternatively, use stunnel/VPN to secure the channel.
Backup RDB/AOF and cron schedule
Redis saves snapshots (RDBs) by default at /var/lib/redis/dump.rdb. You can enable AOF (append-only file) for durability:
# /etc/redis/redis.conf
save 900 1
save 300 10
save 60 10000
appendonly yes
appendfsync everysec
dir /var/lib/redis
Regular backups: for example, copy dump.rdb to the backup folder with a timestamp, using cron.
Create a backup script:
sudo tee /usr/local/bin/redis-backup.sh > /dev/null <<'EOS'
#!/bin/bash
BACKUP_DIR="/var/backups/redis"
mkdir -p "$BACKUP_DIR"
TIMESTAMP=$(date +%F_%H%M%S)
cp /var/lib/redis/dump.rdb "$BACKUP_DIR/dump_${TIMESTAMP}.rdb"
# optional: remove backups older than 30 days
find "$BACKUP_DIR" -type f -mtime +30 -deleteEOS
sudo chmod +x /usr/local/bin/redis-backup.sh
Add a cron job that runs every 6 hours:
sudo crontab -e
Add line:
0 */6 * * * /usr/local/bin/redis-backup.sh >/dev/null 2>&1
If AOF is enabled, you can back up appendonly.aof similarly, or use rdb + aof depending on your requirements.
Now you have successfully install Redis Server on Ubuntu 24.04 LTS and can start using it for caching, sessions, or database workloads.
Basic performance optimization
– maxmemory: limits memory to avoid out-of-play (OOM); includes an eviction policy:
# /etc/redis/redis.conf
maxmemory 1gb
maxmemory-policy allkeys-lru
– Monitor memory usage with INFO memory.
– Avoid using snapshots too often (reduces I/O). For write-heavy applications, AOF + appendfsync everysec is often better than the default rdb snapshot.
FAQ
How is Redis different from Memcached?
Redis offers a more diverse in-memory data store: it supports data structures (strings, lists, sets, hashes, sorted sets), persistence (RDB/AOF), pub/sub, and Lua scripting. Memcached is simpler, only supporting key-value volatiles, suitable for pure caching. If you need to persist data or complex structures, choose Redis.
Is Redis safe to open over the internet?
It’s not safe to open it directly. Redis doesn’t encrypt traffic and is designed to operate on trusted networks. If remote access is necessary, use an SSH tunnel, VPN, or secure proxy, and always enable authentication and a firewall that limits IP addresses.
How should I configure my VPS to run Redis stably?
– Sufficient RAM for dataset and overhead (at least 1GB for testing, 2GB+ for production).
– Small swap space or disable swap depending on the scenario; Redis prefers in-memory processing, but excessive swap can slow down performance.
– Good I/O if using AOF (SSD recommended).
– Configure max memory and eviction policies appropriately.
– Limit CPU contention: use a VPS with a stable CPU if workload is high.
– Use monitoring tools (Redis Slowlog, Prometheus + Grafana) to identify bottlenecks.
Conclude
Installing Redis on Ubuntu 24.04 LTS usually only takes a few minutes if you follow the steps above: install apt, edit /etc/redis/redis.conf, secure with a password and firewall, and set up backups. If you need a VPS optimized for Redis — with suitable RAM/IO configuration, built-in security, and configuration support — check out VPSBarato packages or contact our technical team for quick, optimized configuration for your actual workload.
Need a VPS optimized for Redis? Check out the VPSBarato package or contact support for quick configuration (Redis installation, firewall setup, backup, and application-specific tuning).
how to install redis server on ubuntu 2404 lts
What is VPSBarato?
VPSBarato is a global provider of high-performance Cloud VPS, Proxy, and server infrastructure solutions. We offer a wide range of services including VPS, Cloud VPS, Residential Proxy, Datacenter Proxy, GPU Servers, and Dedicated Servers with both Windows and Linux operating systems.
🌐 Website: https://vpsbarato.com/
📺 YouTube: @vpsbarato 💬 Telegram: @vpsbarato
📘 Facebook: https://www.facebook.com/vpsbarato/