


Install MongoDB on Ubuntu 24.04 with this step-by-step guide for websites, apps, and backend systems. This article covers repository setup, installation, basic configuration, authentication, TLS, backup, and troubleshooting common errors.
Requirements to Install MongoDB on Ubuntu 24.04
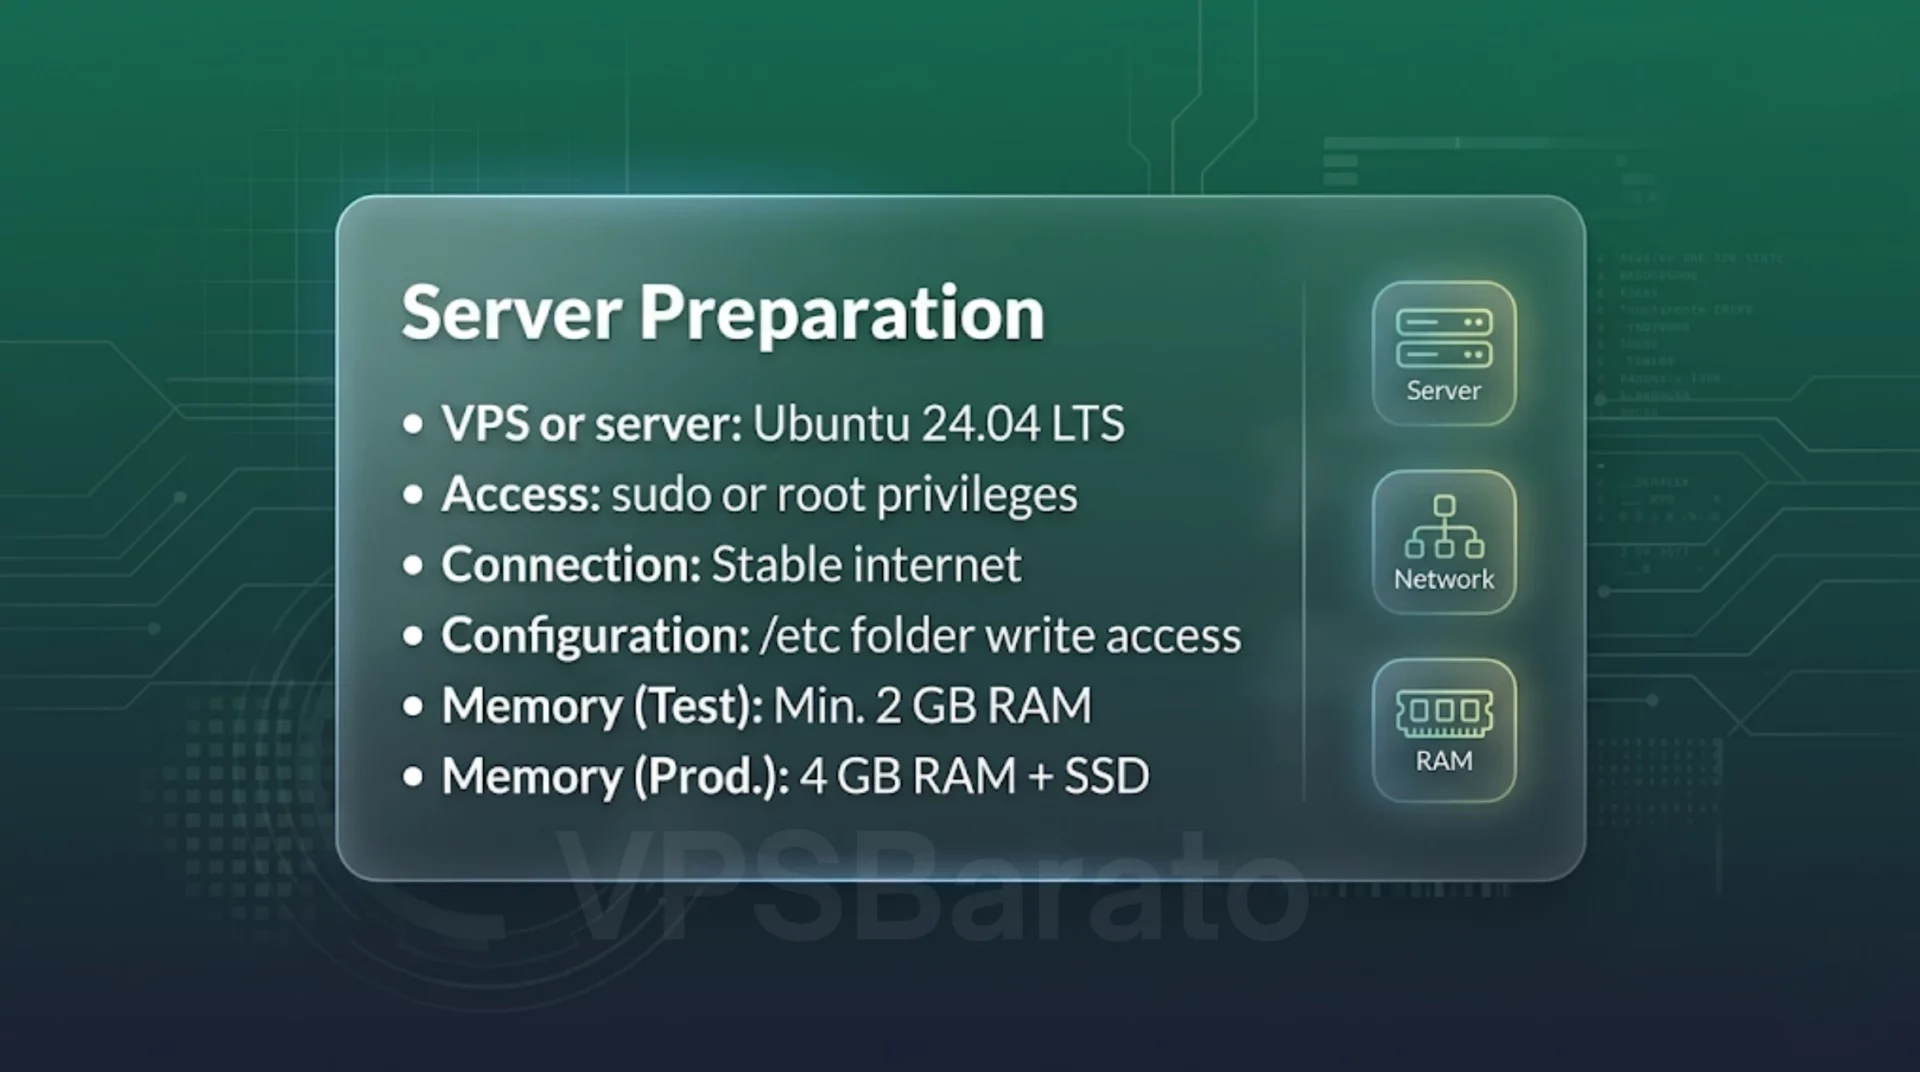
MongoDB Ubuntu 24.04 server requirements – RAM, access and network
Before you begin, you should prepare:
- VPS or server running Ubuntu 24.04 LTS
- sudo or root privileges
- Stable internet connection
- Permission to edit files under /etc
- A minimum of 2 GB of RAM is required for testing purposes only.
- If running in production, you should have 4 GB of RAM or more and use an SSD.
Quick system check:
lsb_release -a
uname -m
free -h
Step 1: Add the MongoDB repository
MongoDB should not be installed using the old method apt-key. The correct way is to use a keyring to avoid security issues and repository errors later.
Import GPG key
curl -fsSL https://pgp.mongodb.com/server-6.0.asc | sudo gpg --dearmor -o /usr/share/keyrings/mongodb-server-6.0.gpgAdd the repository to the system.
UBUNTU_CODENAME=$(lsb_release -sc)
echo "deb [signed-by=/usr/share/keyrings/mongodb-server-6.0.gpg] https://repo.mongodb.org/apt/ubuntu $UBUNTU_CODENAME/mongodb-org/6.0 multiverse" | sudo tee /etc/apt/sources.list.d/mongodb-org-6.0.list
sudo apt update
If you encounter an error indicating that the repository does not support codenames, you need to check your MongoDB version or choose a version that is more compatible with Ubuntu 24.04.
Step 2: Install MongoDB
After adding the repository, proceed with installing MongoDB:
sudo apt install -y mongodb-orgThis package includes the following main components: mongod, mongosh, mongos, mongodump, mongorestore.
Step 3: Start the MongoDB service
Enable the MongoDB service and allow it to run automatically on reboot:
sudo systemctl start mongod
sudo systemctl enable mongod
sudo systemctl status mongod --no-pager
If you need to view the logs to check for errors:
sudo journalctl -u mongod -e --no-pager
Step 4: Basic MongoDB Configuration
The main MongoDB configuration file is located at /etc/mongod.conf. Example of basic configuration:
# /etc/mongod.conf
storage:
  dbPath: /var/lib/mongodb
  journal:
    enabled: true

systemLog:
  destination: file
  path: /var/log/mongodb/mongod.log
  logAppend: true

net:
  port: 27017
  bindIp: 127.0.0.1

security:
  authorization: "disabled"
Quick explanation:
- dbPath: where MongoDB stores data
- journal: Enables journaling for better data safety.
- bindIp: 127.0.0.1: allows internal access only
- authorization: “disabled”: Temporarily disable authentication to create an admin user first.
After modifying the configuration file, restart MongoDB:
sudo systemctl restart mongod
Step 5: Create an admin account
Before enabling login authentication, you need to create an admin user first. Open the MongoDB shell:
mongosh --port 27017Then run:
use admin

db.createUser({
  user: "admin",
  pwd: "YourStrongPassword!123",
  roles: [
    { role: "userAdminAnyDatabase", db: "admin" },
    { role: "readWriteAnyDatabase", db: "admin" }
  ]
})
Check if you can log in again:
mongosh --username admin --password 'YourStrongPassword!123' --authenticationDatabase admin
Step 6: Enable authentication for security.
After successfully creating the admin user, reopen the file /etc/mongod.confand edit the following section:
security:
  authorization: "enabled"
Then restart MongoDB:
sudo systemctl restart mongodFrom now on, all database operations require a valid account.
Step 7: Enable TLS if connection encryption is required.
If you need a more secure MongoDB connection, especially when accessing from another machine, you can enable TLS. Here’s an example configuration:
net:
  port: 27017
  bindIp: 127.0.0.1,10.0.0.5

  tls:
    mode: requireTLS
    certificateKeyFile: /etc/ssl/mongodb.pem
Create a self-signed certificate for quick testing:
sudo openssl req -newkey rsa:4096 -nodes -keyout mongodb.key -x509 -days 365 -out mongodb.crt -subj "/CN=your.mongodb.server"
cat mongodb.key mongodb.crt | sudo tee /etc/ssl/mongodb.pem
sudo chmod 600 /etc/ssl/mongodb.pem
sudo systemctl restart mongod
Connect using the command:
mongosh "mongodb://admin:YourStrongPassword!123@localhost:27017/?authSource=admin&tls=true"If you don’t need to expose MongoDB to the internet, it’s best to keep it running locally and use SSH tunnels or VPNs for remote access.
Step 8: Back up your MongoDB data.
MongoDB supports backup using mongodumpand restore using mongorestore. This is a simple method, suitable for most small to medium-sized VPS.
Backup the entire database.
mongodump --uri="mongodb://admin:YourStrongPassword!123@localhost:27017/?authSource=admin" --out /var/backups/mongodb/$(date +%F)Back up a specific database.
mongodump --uri="mongodb://admin:pw@localhost:27017/dbname?authSource=admin" --db dbname --out /var/backups/mongodb/$(date +%F)Restore data
mongorestore --uri="mongodb://admin:YourStrongPassword!123@localhost:27017/?authSource=admin" /var/backups/mongodb/2026-03-24/If running in production, you should:
- Schedule automatic backups using cron
- Save the backup to another drive or object storage.
- Keep multiple backups close together to avoid restore errors.
Step 9: Test MongoDB operation
Check the ping from the shell.
mongosh --eval "db.adminCommand({ping:1})"Check the database list.
mongosh --username admin --password 'pw' --authenticationDatabase admin --eval "db.getMongo().getDBNames()"Check MongoDB Logs
tail -n 200 /var/log/mongodb/mongod.logDisable Transparent Huge Pages
echo never | sudo tee /sys/kernel/mm/transparent_hugepage/enabledIf the system reports an error regarding the file handle, you should increase the limit LimitNOFILEfor the service mongod.
Common errors when installing MongoDB on Ubuntu 24.04
Invalid GPG key or signature error.
If you encounter an error like this The following signatures couldn't be verified, the cause is usually an incorrect import key, the wrong repository file is being used signed-by, or the key is corrupted. The solution is to delete the old key and import again correctly according to the instructions in Step 1.
Error: Repository has no release file
This error often occurs when the MongoDB version doesn’t support the current Ubuntu codename. You need to:
- Check your MongoDB version.
- Check the Ubuntu codename using
lsb_release -sc - Use a more compatible repository.
MongoDB failed to start.
Check immediately using the command:
sudo journalctl -u mongod -e --no-pager
tail -n 200 /var/log/mongodb/mongod.log
Common causes:
- Incorrect YAML format in conf
- Port 27017 is occupied by another application.
- Incorrect file permissions
- TLS is enabled, but the certificate file is incorrect.
Login failed after enabling authentication.
If it’s enabled authorization: enabledbut you still can’t log in, check the following:
- Has the user been created in the database
adminyet? - Is there more
authSource=admin? - Is the password correct?
- Are you using the shell correctly?
Remote connection timed out.
If you can’t connect from another machine, check the following in order: bindIpin the conf file ufw status, the VPS provider’s firewall, and the security group if running on the cloud.
Note: Don’t just open ports without enabling security. MongoDB that’s open to the public without proper locking is very vulnerable to scanning and attacks.
FAQ
Does MongoDB run well on Ubuntu 24.04?
Yes, but you need to check for compatible repository versions. Don’t follow old methods apt-keyas they are prone to errors.
Do I need to open port 27017 to the Internet?
You shouldn’t, unless you really know what you’re doing. The safest option is to bind locally and use an SSH tunnel or VPN for remote access.
How much RAM does MongoDB need?
For testing or small apps, 2 GB of RAM may suffice. For real-world applications, 4 GB of RAM or more is recommended. For large projects or those with high query volumes, 8 GB of RAM or more is needed for optimal WiredTiger caching.
What type of backup should I use?
For small systems, this mongodumpis sufficient. For larger systems, combining disk snapshots or replica sets is recommended to increase security and reduce downtime.
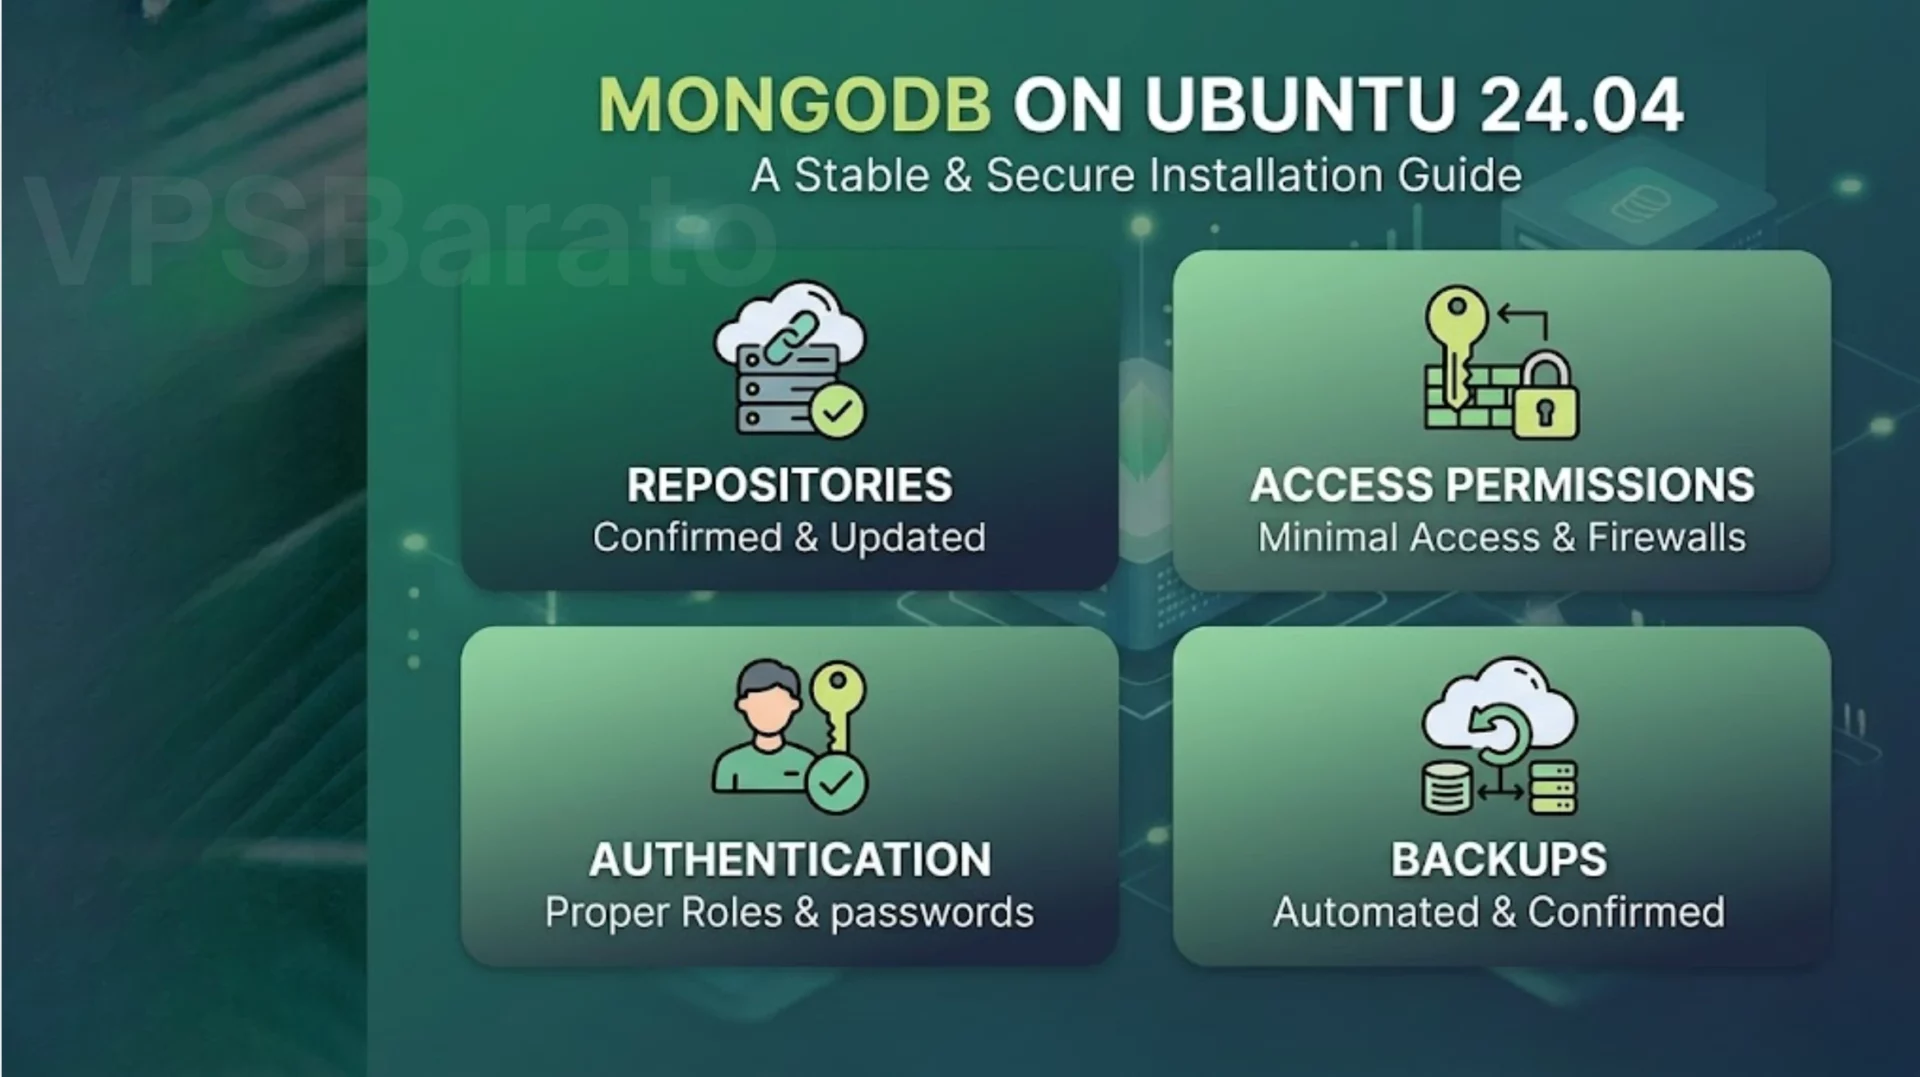
Conclusion
Installing MongoDB on Ubuntu 24.04 isn’t too difficult, but the most common mistakes people make are with repositories, access permissions, authentication, and backups. If you install it correctly from the start, enable proper security, and have a clear backup mechanism, MongoDB will run quite stably on your VPS.
Standard procedure summary:
- Add MongoDB keys and repositories.
- Install
mongodb-org - Turn on the service
mongod - Create admin user
-
Enable authentication
- Only enable access when absolutely necessary.
- Set up regular backups.
MongoDB on Ubuntu 24.04 installation guide – repositories, authentication, access permissions and backups
If you also plan to run caching or session storage on the same server, read our Redis Server on Ubuntu 24.04 guide.
What is VPSBarato?
VPSBarato is a global provider of high-performance Cloud VPS, Proxy, and server infrastructure solutions. We offer a wide range of services including VPS, Cloud VPS, Residential Proxy, Datacenter Proxy, GPU Servers, and Dedicated Servers with both Windows and Linux operating systems.
🌐 Website: https://vpsbarato.com/
📺 YouTube: @vpsbarato 💬 Telegram: @vpsbarato
📘 Facebook: https://www.facebook.com/vpsbarato/
Useful Resources to Install MongoDB on Ubuntu 24.04
If you plan to deploy this setup on a production server, you can browse our Linux VPS category to choose a suitable environment before you install MongoDB on Ubuntu 24.04.
To verify repository steps, package updates, authentication, and encrypted connections, it is also worth checking the official MongoDB Ubuntu installation guide, the authentication guide, and the TLS configuration guide.